Getting started on Microsoft Teams
Prefer video? Watch our step-by-step guide to installing DailyBot in Teams environment:
Configuring DailyBot for Microsoft Teams
To sign up, first you need to make sure the bot is installed in your team of choice. Follow one of the two instructions in bold, depending on whether you're on our site or inside your Teams app.
You can also watch this quick guide: Installing DailyBot in Microsoft Teams.
If you're at www.dailybot.com, click on the "Try It Free" button and select MS Teams, this will redirect you to your Microsoft Teams app.
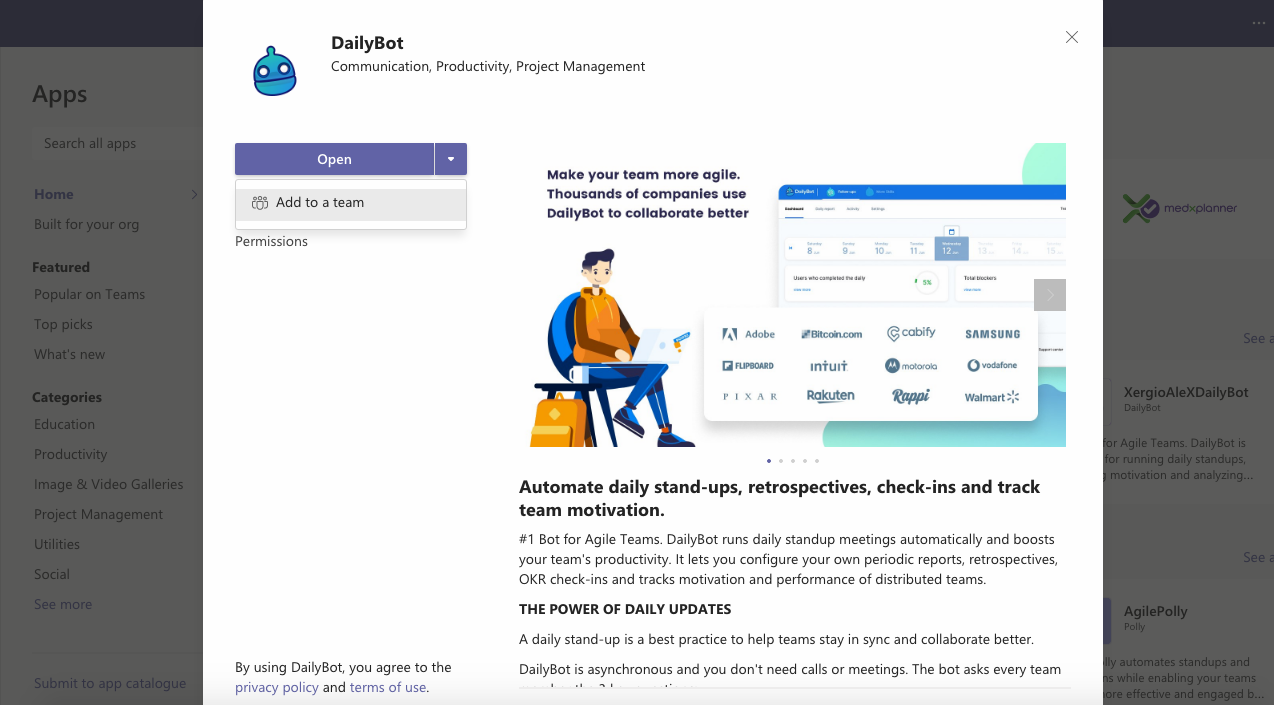
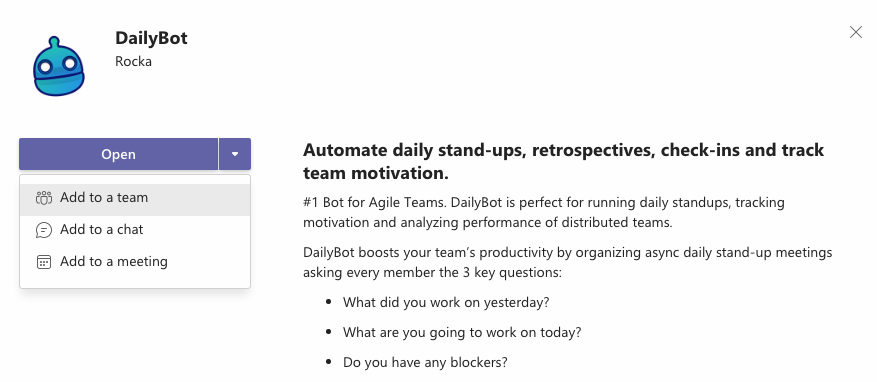
1. You can choose to open Teams on the web or on your desktop, in which case you'll be redirected to a window like this, asking you to confirm the installation. Use the arrow button next to "Open" to click on "Add to a team":
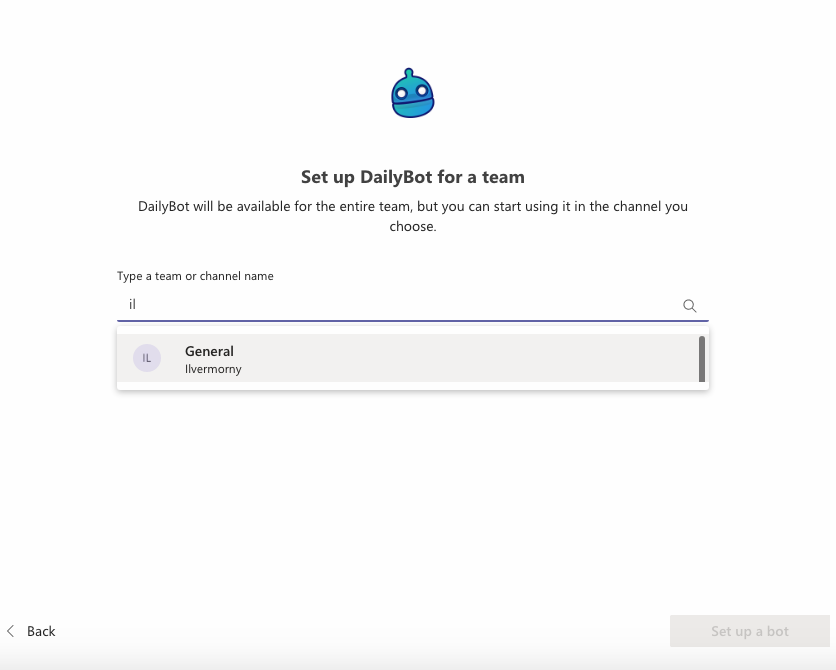
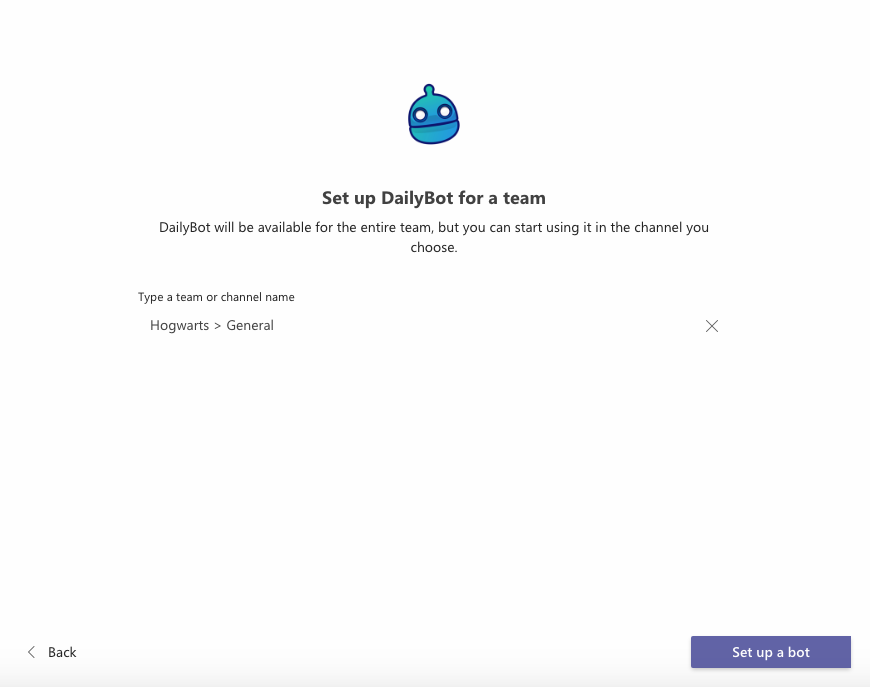
2. In the new window, find a channel inside the team of your choice to start running DailyBot there (Click on "Set up a bot" down below that window to save your configuration):
3. If the bot was successfully installed, you'll get a welcome message, like this one:

Alternatively, if you're already on Teams, follow these steps:
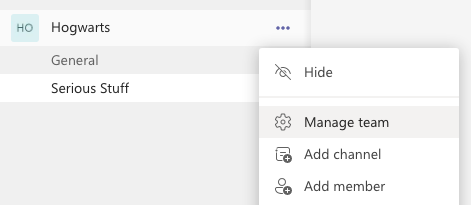
1. Just locate your team of choice, find its options (•••) and select "Manage team":
2. Make sure you're on the "Apps" tab and click on the purple button "More apps":
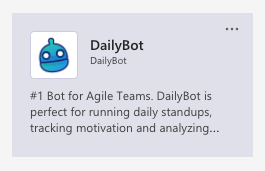
3. Use the search bar if you need to and locate DailyBot by name:
4. Use the arrow button next to "Open" to click on "Add to a team":
5. Confirm the channel details (this is where the bot is going to say hi! in a moment) and click on "Set up a bot" at the bottom of the modal window:
6. If the bot was successfully installed, you'll get a welcome message, like this one:

Add DailyBot to any team in your Microsoft Teams workspace before you invite users
You need to add DailyBot to a team so you can later invite members from that team into DailyBot, or see and select channels from that team for your reporting activities.
Complete the onboarding in the web application
Once you have DailyBot installed and he's been added to a team, please complete these steps.
DailyBot will offer you a link or button to complete the registration, this link will take you to the web app where you should complete these steps:
Set your organization name
Specify settings like time zone and language
Invite members
Create your first check-in
Learn more about this in our quick guide "First steps on Microsoft Teams":
If you have any questions, please submit a ticket and we'll help you.